How To Etch Copper
Original article by Cooks on Gold

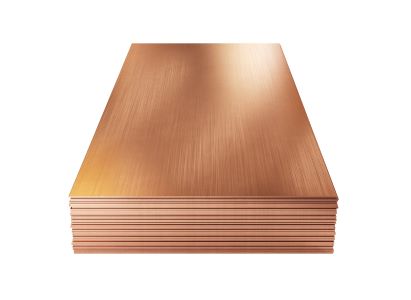
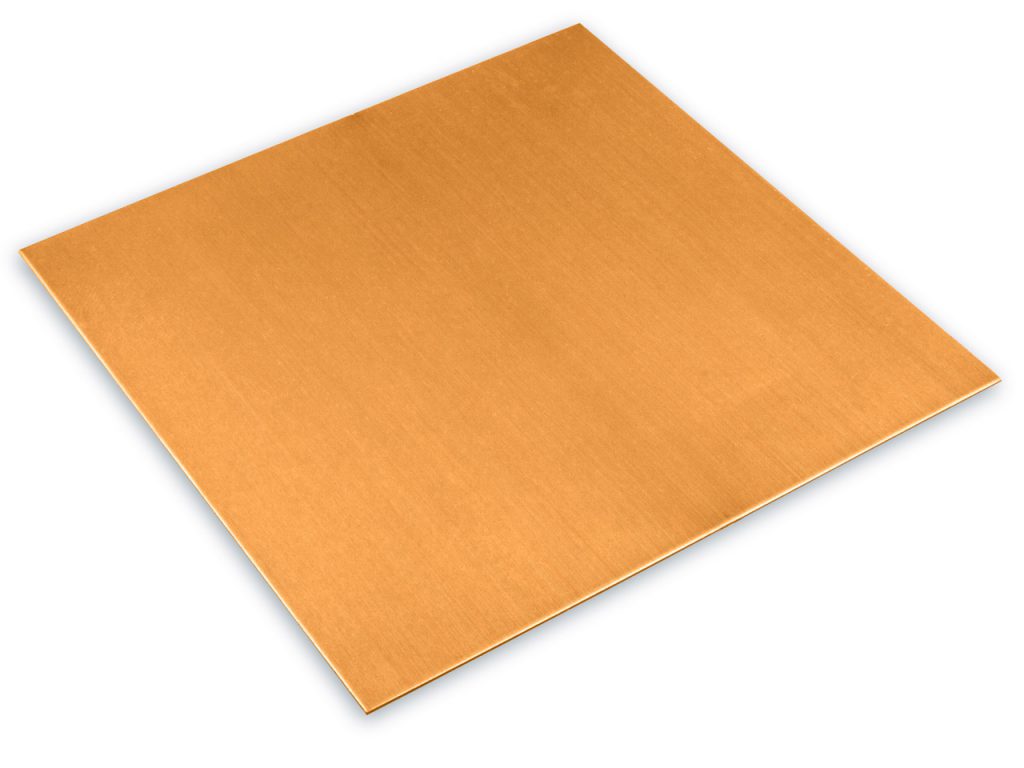
Etching copper doesn’t have to be a complex process with the right tools and supplies to hand. With a few simple safety guidelines and some expert advice, you can create copper etched jewellery pieces that are truly unique and professionally finished. Remember, if you can draw up your own design, use a pre-stamped design, or take inspiration from other patterns and prints, you can certainly etch it into your copper jewellery pieces.
How to etch copper sheet
You’ll need:
- Acid etching solution (ferric chloride)
- Copper sheet
- Tape
- Cleaning sponge
- Baking soda
- Permanent marker/solvent ink pad
- Safety glasses & gloves

8 steps to copper etching
1. Safety first…
When learning how to acid etch copper sheets, it’s best to follow some basic safety steps to avoid the possibility of injury. Firstly, make sure you’re wearing safety glasses and wearing appropriate gloves to protect yourself from any spillages of the acidic solution you’ll be using.
2. Prepare your copper sheet
Whether you’re using ready-made copper metal blanks or you’ve cut your own from a copper sheet, make sure that the copper you’ll be working with is clean. The copper must be free from any waxes, or grease from your fingers that could interfere with the etching process.
To ensure it’s free from all residues, take a clean sponge and scrub the surface of the copper. This could leave some subtle scratches on the surface of the copper, but this effect may work depending on the look of the piece that you’re working towards. If you would like a smoother appearance, use an abrasive metal cleaner. This will remove any dirt without marking the copper sheet.
Once cleaned, remove any traces of the cleaning solution and dry the copper using a clean, dry, cloth. Avoid direct contact with the metal sheet so there aren’t fingerprints all over the clean metal sheet.
3. Choose your design for etching
The design you choose, whether it’s a drawing you’ve created yourself, an intricate pattern, or a stamped image, will form a resist. This means that the permanent marker or solvent ink pad you use to create your design will resist the acid once applied, leaving the acid to get to work on the surrounding area of your copper blank.
4. Add resist to your blank
Once you’ve chosen your design you can line it up in your preferred position and apply to the blank using either a permanent marker or ink stamp. Leave this to fully dry so that the image doesn’t smudge during the copper etching process.
You’ll then need to cover the back of the copper with the permanent ink too. This will act as a resist, preventing the acid from reacting with the back of the piece. Remember to cover the sides of the copper blank too. This will prevent the acid from creating an uneven finish to your piece. Now leave the rest of the ink to dry on the back of the blank before starting the acid etching process.
5. Carefully prep your copper with tape
Now all the ink is dry, lay the blank with the design face down on the table. Take your tape and add it to the back of your copper blank, ensuring that it is entirely covered. To ensure no air gaps are left behind, use a burnisher to push the tape flat down to the back of the copper blank. This will stop any copper etching solution from getting through the tape and weakening the metal. Plus, if you leave a little extra tape loose on either side of the copper blank, it leaves you with an easy way of retrieving the blank from the copper etching solution with getting too close to the acidic solution.
6. Leave your copper blank in the etching solution
You’re now ready to carefully lower the copper blank into the acidic etching solution. Make sure you add the copper etching solution to a container that will not be reused for food storage – in fact a disposable container is recommended. With the solution added to the container, carefully lower the copper blank into the solution, resting it on top of the solution. Do not submerge the piece in the solution entirely as this will weaken the copper blank as the acid takes effect. Use the loose tape either side of the copper blank to hold the piece of copper in place, sitting just on top of the solution.
Leave the copper blank in the solution for at least half an hour. At 5-10 minute intervals, gently stir the copper etching solution to agitate the solution. Remember to wear safety goggles and gloves at all times.
Once the half hour is up, check the etching to make sure you’re happy with the result. Want more of an impact from the etching? Simply place it back into the solution for an extra 10-15 minutes, checking regularly for the desired result.
7. Neutralise the acidic solution
Take two tablespoons of baking soda and add to lukewarm water. Gently mix. Now you can remove your copper blank from the etching solution and place it into the neutralising baking soda solution. The copper will fizz in the baking soda solution as it neutralises the acid, making the copper safe to handle once again.
8. Clean for a high shine finish
Remove the copper from the baking soda solution and carefully remove the tape from the back of the blank. The copper metal will appear a little faded and discoloured. That’s completely normal. It will need a thorough clean. Using a fresh baking soda solution will usually do the trick. Use this along with an abrasive cleaning sponge to remove the debris and leave your copper piece with a high shine. Some of the permanent marker may remain. This can be left depending on the look that you would like to create or can be scrubbed clean so that you’re left with the etched impression.
Now you’ve learnt how to acid etch copper, the designs you can create with copper sheet are endless. Take inspiration from patterned fabric, tiles, or even architecture. Once you’ve mastered the art of copper etching you can then add a weathered look to your pieces and learn how to patina copper jewellery.


